
As a security consultant who spends a lot of time testing web applications, Burp Suite is the software I turn to most often to conduct web application security testing. The robust set of features and capabilities that Burp Suite offers is well-suited for most pen-testing projects that I work on because of its automated fuzzing capabilities and ease of request modification. Some of my favorite extensions are Autorize (for testing authentication and authorization controls) and InQL (for testing GraphQL applications). When I come across a technology stack or an application that I’m not familiar with, I download extensions from the Burp Store to gain more power during web pen tests.
Use this blog to explore some of the common use cases for Burp extensions and learn how you can create your own with ease.
Common Use Cases
One of the more common use cases to create a Burp extension is to handle authentication issues. When submitting an old request with an expired token, you want Burp to substitute the old cookie for a new cookie. In recent years, the Burp Macro Editor and Session Handling Rules have adapted to help with most authentication issues, but in some cases, it may not be possible to use the out-of-box macro editor to re-authenticate requests.
Another common use case is data mining old requests to analyze APIs. For instance, I conducted a black-box pen test that required me to transfer all the actions and methods from a VisualForce remoting API into a SalesForce environment. With minimal lines of code, I was able to enumerate the Burp Proxy history, identify calls to an API endpoint, and dump the action, method, and a sample request for each API call to VisualForce. This allowed me to easily build an attack surface without having access to the client code.
Burp Extensions can also easily plug into the user interface to visualize data more effectively. For instance, the JWT Editor extension detects JSON Web Tokens in requests and enables the user to easily modify the tokens without manually decoding and encoding them.
This is just scratching the surface in terms of what Burp can do to power up your pen tests. Other interesting capabilities are fuzzing APIs, plugging into Burp Scanner, and information gathering.
My First Burp Extension
My first Burp Extension was created a mere four months into my employment at Bishop Fox. The application I tested used a sub-standard derivative of GraphQL. Each query and mutation had its own endpoint, and queries were identified by a seemingly random string. I wanted an easy way to correlate these queries with their respective URL endpoints while being able to quickly view example requests that I could send to Burp Repeater. Thus, my first Burp Extension was born with a user interface so awful, it could have been on a display in a 1980s bowling alley.
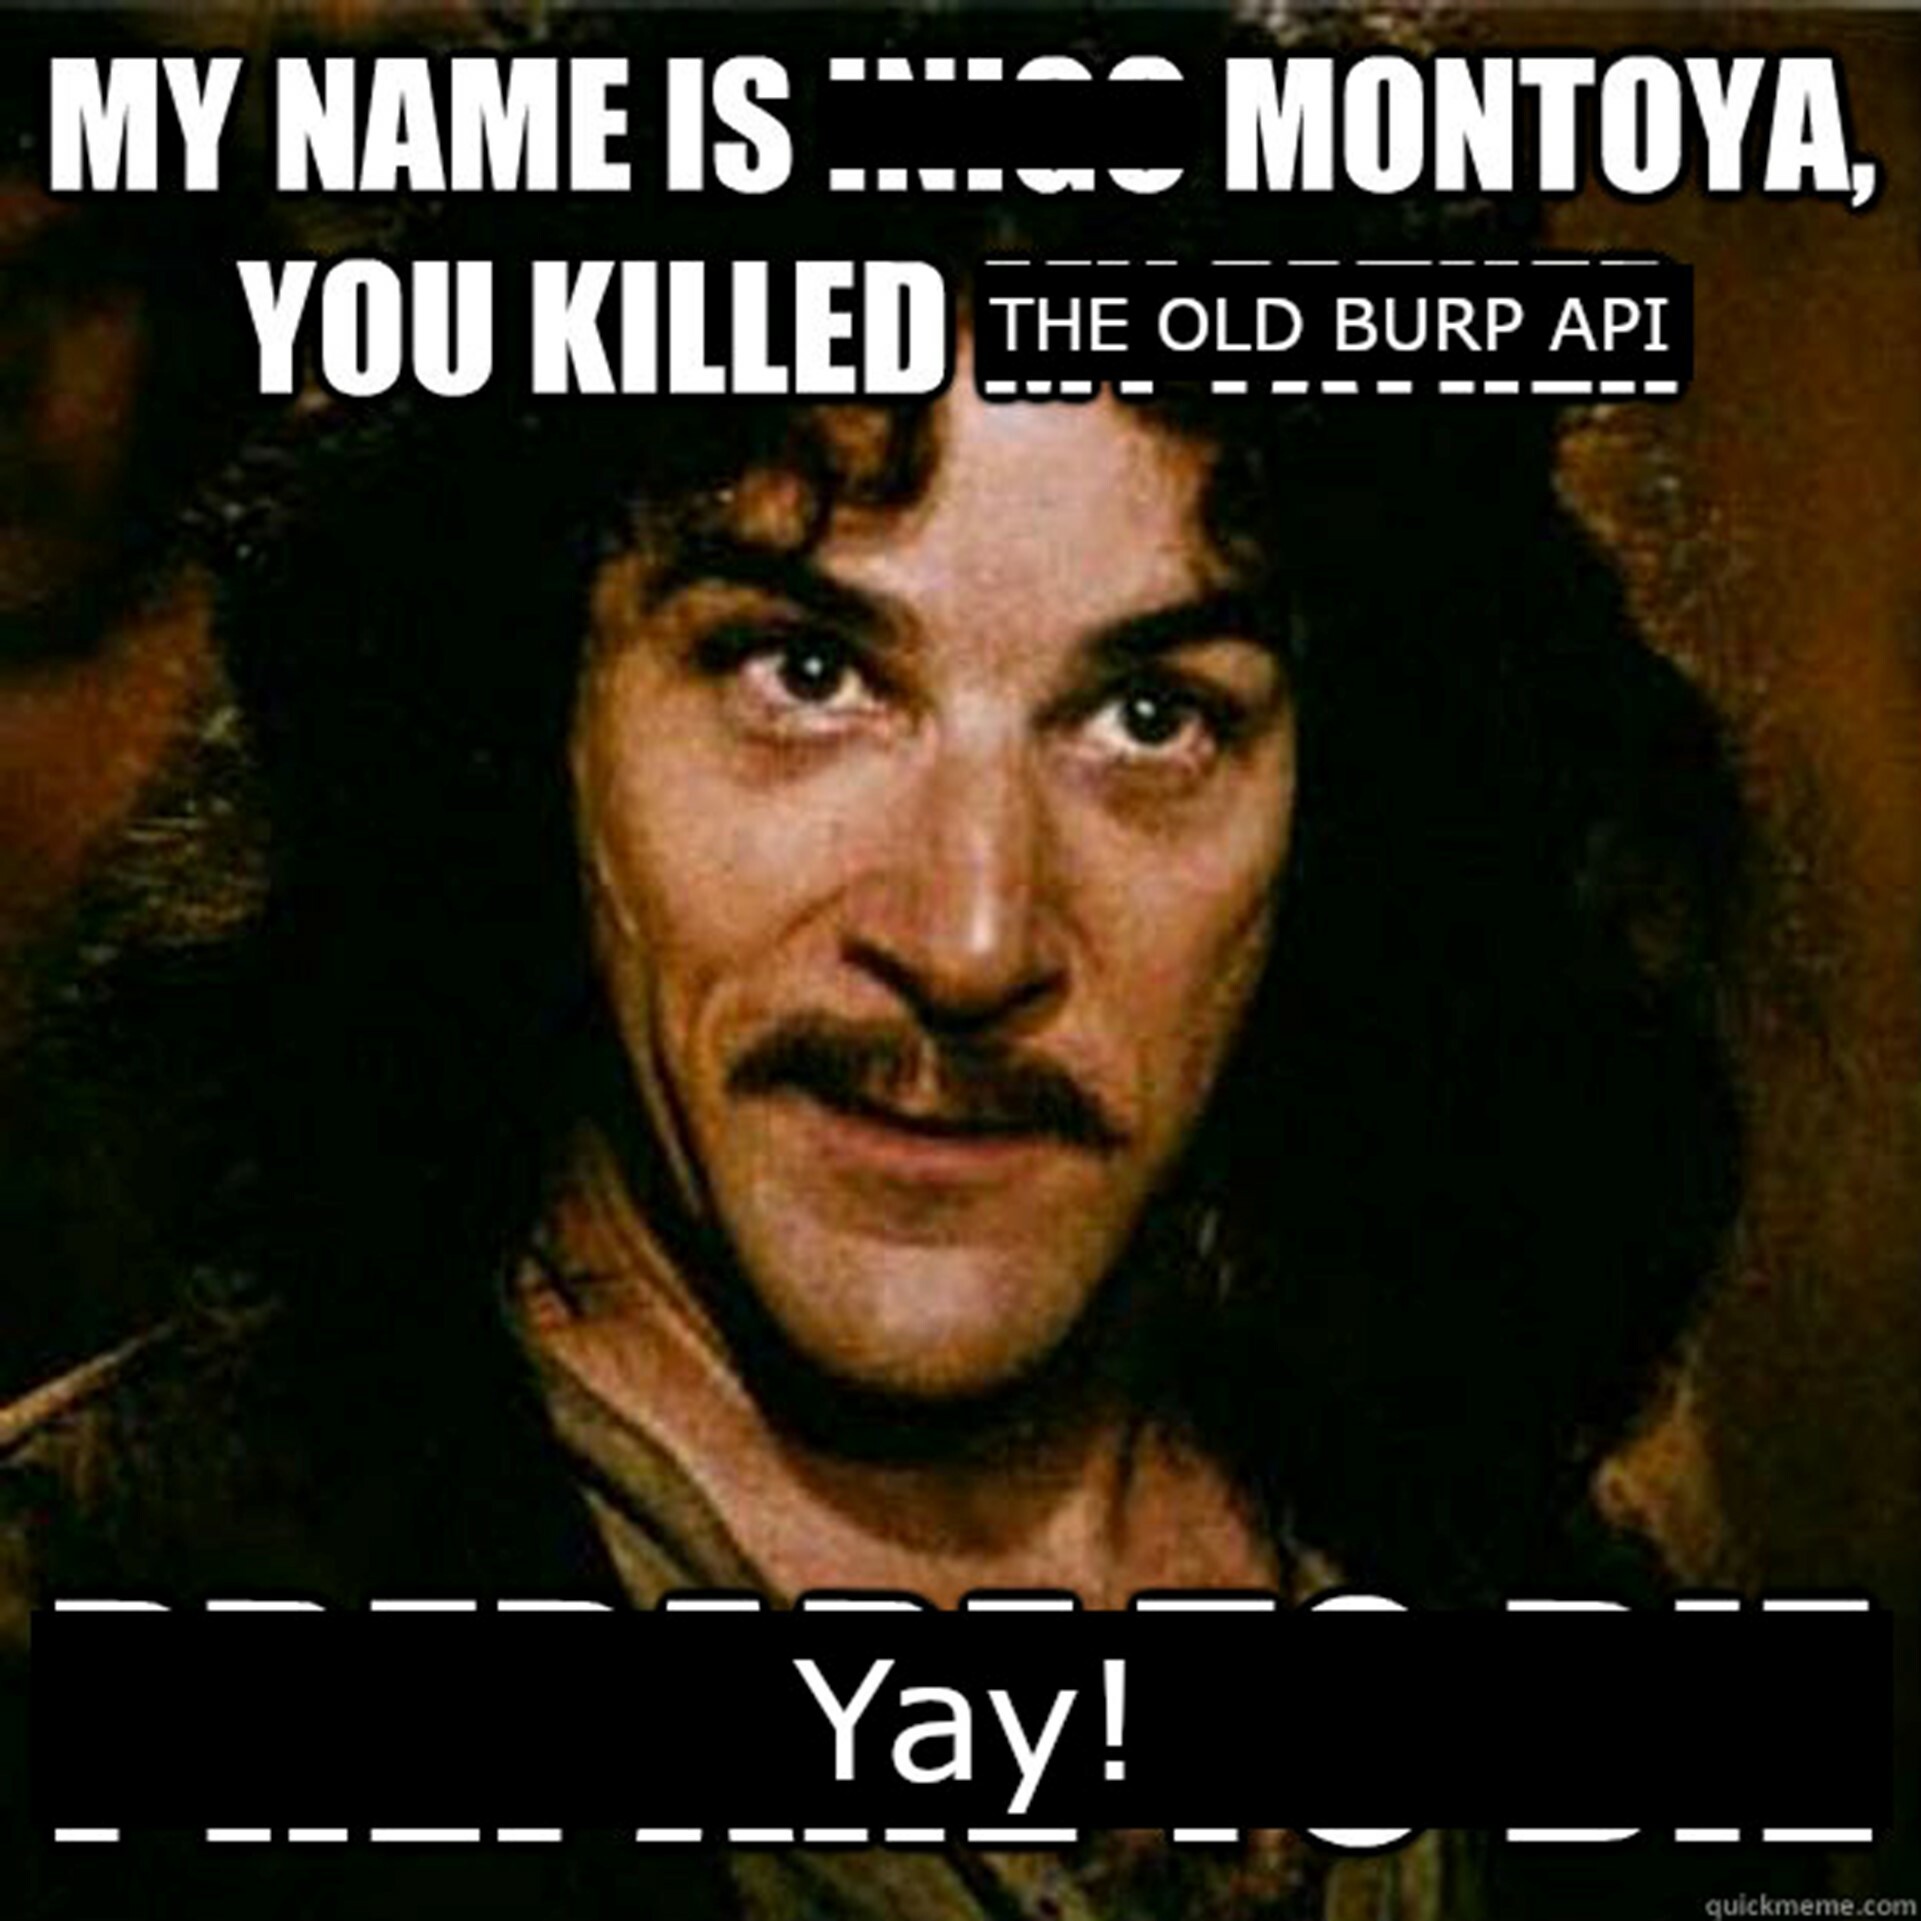
Burp Montoya API: A Breath of Fresh Air
Burp Suite has had the Burp Extender API dating back to 2005 when v1.0 was released. As far as I can tell, the old extender API interface has not changed much since its initial release. From a developer perspective, there were quite a few issues with making extensions.
One such issue that has always been frustrating since the inception of the original extender API is its limited extensibility. For instance, analyzing websockets has been a core feature of Burp Suite for many years now, but the old extender API could not hook into this.
The lack of key functionality and flexibility of the old API made it challenging for developers to build complex extensions. A specific example of the clunky developer experience is simply getting the body of an HTTP request or response as a string. In this case, a developer must get the body offset of the data in the HTTP buffer, cut out the necessary data, and then convert the byte array to a string.
On October 27, 2022, PortSwigger released Burp Suite 2022.9.5, which included the new Montoya API. The new design is more in-line with object-oriented principals and makes it easier to get started on building an extension.
Not only has the new API introduced new features to Burp Extender, including WebSocket support, but it is a lot friendlier for developers to make their own extensions. In fact, the previous example of extracting the body from an HTTP message can be done in one simple method call on an HTTP message.
Creating Your First Extension
For the purposes of this blog post, I’m going to create a Burp extension called BurpCage that will surely enhance your pen-testing experiences.
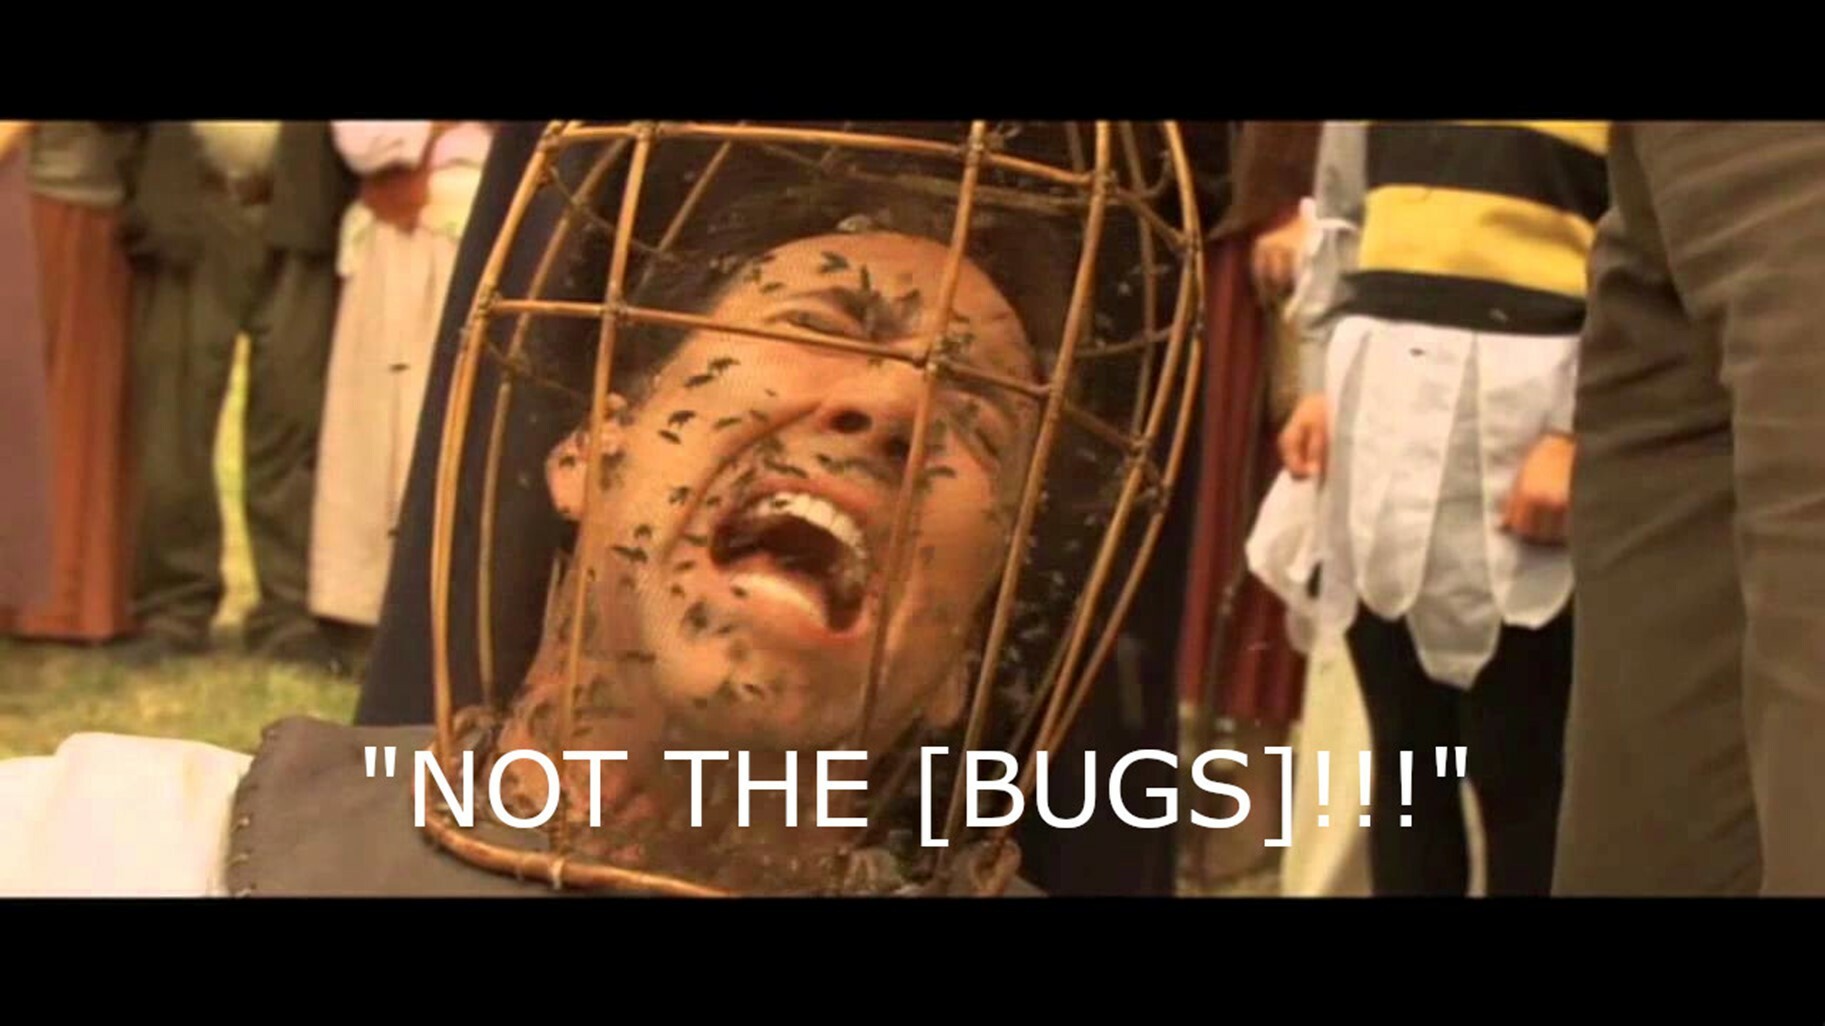
In traditional internet humor, this Burp extension will replace any image that is proxied through Burp with a photo of Nicolas Cage.
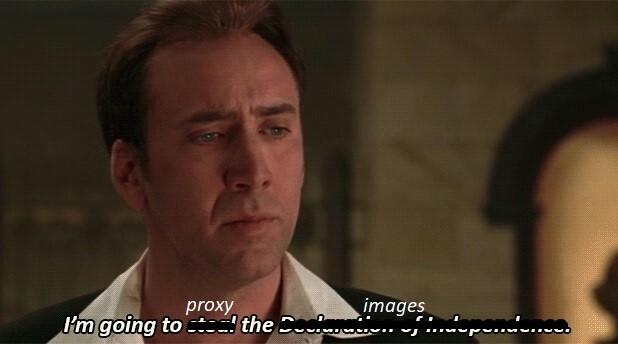
This extension demonstrates the usefulness and the power of interfacing with Burp Proxy in the Montoya API. While this extension simply swaps out images in transit, developers can take it up a notch to create mock extensions that perform analysis on HTTP messages or modify HTTP interactions to force the server or the client into taking different code paths.
As a quick disclaimer, this guide assumes some working knowledge of programming. Knowing Java or Kotlin is helpful. It touches a little bit on the Java Swing library, but you may need to brush up a bit on GUI design in Java if you want to make more complicated components. The Montoya API currently supports extensions programmed in Java and other Java Virtual Machine (JVM) languages (Kotlin, Scala, etc). Because Burp Suite is created using Java, writing extensions in a JVM-supported language makes sense instead of using the former Jython or JRuby interfaces. Jythyon and JRuby are prone to introducing frustrations for developers. In my experience, making Python Burp Extensions using the old API has been much more trouble than it was worth.
I’ve written this extension in Kotlin, my favorite Java derivative, but any JVM-based language will do. I’ve selected Kotlin because it is easier to write more concise code that is less prone to errors due to its null safety features, which ensure that types are always non-null, making the application less error prone.
In addition, I’ve used IntelliJ IDEA to write this extension, but you can use any IDE that you’re comfortable using.
To begin, I’ve created a project in IntelliJ using the project creation wizard with Kotlin as the language and Gradle as the build system, but these are parameters that you can easily change based on your preference.
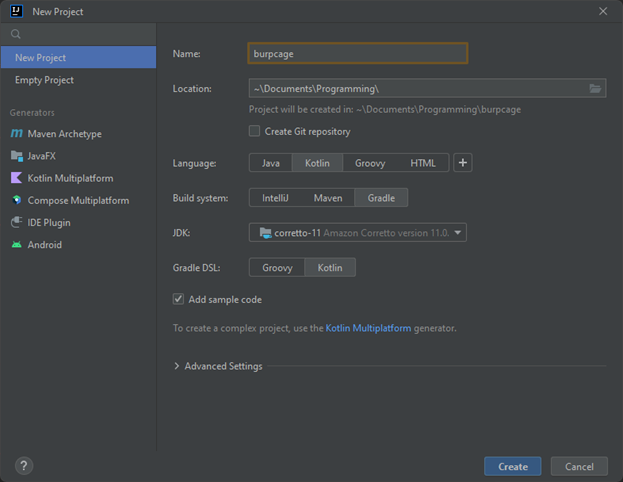
FIGURE 1 - Select preferred options in the IntelliJ New Project wizard
Next, I’ve changed the settings in the build.gradle.kts (if you’re using Gradle) file to add some required dependencies. The first dependency is the Montoya API, which is the core of the extension. The next dependency is a plugin called Shadow, which creates an uber JAR file, which is a JAR file with all its dependencies. This is required because the Kotlin runtime library is not in the Java class path on most users’ machines.
You can refer to the source code in the GitHub repository for a sample of this file.
Hello World
After setting up the project it is time to start writing some code. First, create a package in the src/main/kotlin directory. A package in Java (and subsequently Kotlin) is simply a namespace used to group related classes. While it is not required, it is standard practice in software development to create a root package that all our source code can live in.
In IntelliJ, you can create a package by right clicking on the src/main/kotlin directory and selecting New > Package. My package is called com.bishopfox.burpcage.
Then, create the entry point of the Burp Extension. To tell Burp about the entry point, implement the class BurpExtension. This is a stark contrast and welcome upgrade to the old API, which required structuring the code in a very specific way.
To create a new class in IntelliJ, simply right click the package, and select the New > Kotlin Class/File option.
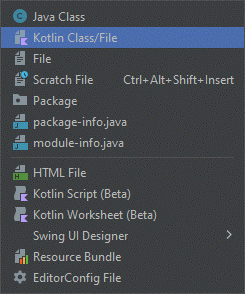
FIGURE 2 - Create a new Kotlin Class using the IntelliJ Context Menu
Then use the following source code to display a simple “Hello World” message:
package com.bishopfox.burpcage

import burp.api.montoya.BurpExtension
import burp.api.montoya.MontoyaApi

class BurpCageEntry: BurpExtension {
    /**
     * The entry point for the BurpCage extension.
     *
     * @param api An instance of the MontoyaApi
     */
    override fun initialize(api: MontoyaApi?) {
        /* Null safety check. PortSwigger didn't add the sufficient
         * annotations to its MontoyaApi interface, so Kotlin thinks
         * that it is possible for this object to be null. This is
         * just to make Kotlin happy.
         */
        if (api == null) {
            return
        }

        api.extension().setName("BurpCage")
        api.logging().logToOutput("Hello, world!")
    }
}
FIGURE 3 - Sample code to print out “Hello, world!” in the user’s Burp window
That’s it! This is the minimum amount of code needed to create a Burp extension. The last step is to use the shadowJar Gradle task to compile the code. To do that, open the Gradle menu on the right side of IntelliJ, and double click shadowJar to run the task. You can alternatively use the Gradle command line wrapper to run the task.
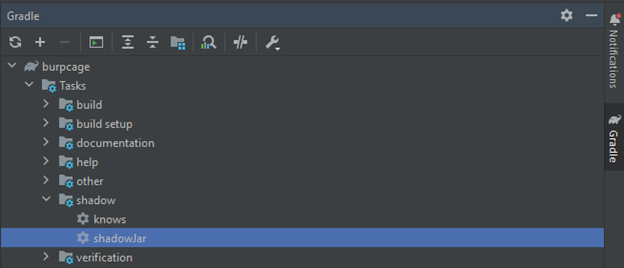
FIGURE 4 - Creating an uber JAR file with all the dependencies needed for the Kotlin runtime.
The resulting extension is added to the build/libs directory, with the correct extension ending in -all.jar. Then, you can open Burp, load an extension, and navigate to the newly built JJAP file. Like magic, the code works perfectly! But it’s not enough Nicolas Cage, so I must continue.
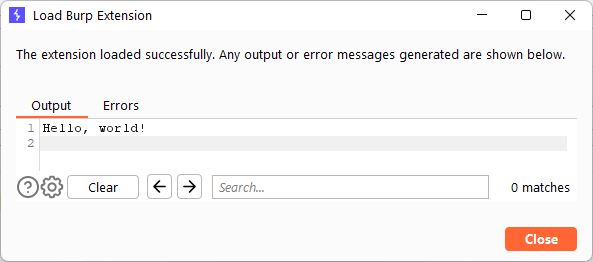
FIGURE 5 - Successfully loading the Burp extension
Intercepting Image Responses: The Business Logic
To create an extension that gobbles up boring, normal images, and digests Nicolas Cage, I make use of the Burp Proxy API. While our friends over at PortSwigger probably did not envision us adapting their software to create images of the Gone in 60 Seconds actor, they made it extremely easy to do so.
The main gist of what I’m trying to accomplish is to hook into Burp Proxy and listen for HTTP responses with image MIME types. If such a response is detected, simply replace the contents of the HTTP response with an image of Nicolas Cage.
To accomplish this, inside of the entry point of the source code, use the registerResponseHandler method, which listens for responses from the HTTP servers:
package com.bishopfox.burpcage

import burp.api.montoya.BurpExtension
import burp.api.montoya.MontoyaApi

class BurpCageEntry: BurpExtension {
    /**
     * The entry point for the BurpCage extension.
     *
     * @param api An instance of the MontoyaApi
     */
    override fun initialize(api: MontoyaApi?) {
        ...omitted for brevity...
        api.proxy().registerResponseHandler(BurpCageHttpResponseHandler())
    }
}
FIGURE 6 - Adding a Burp Proxy response listener to the source code
The registerResponseHandler method, according to its JavaDoc, uses a parameter of type ProxyResponseHandler. Now make a class that implements this interface and create the methods required:
import burp.api.montoya.proxy.http.InterceptedResponse
import burp.api.montoya.proxy.http.ProxyResponseHandler
import burp.api.montoya.proxy.http.ProxyResponseReceivedAction
import burp.api.montoya.proxy.http.ProxyResponseToBeSentAction

class BurpCageHttpResponseHandler() : ProxyResponseHandler {
    /* Invoked before proxy processing */
    override fun handleResponseReceived(interceptedResponse: InterceptedResponse?): ProxyResponseReceivedAction {
        /* TODO: Implement image replacement code */
    }

    /* Invoke after proxy processing, but before the data is sent to the browser */
    override fun handleResponseToBeSent(interceptedResponse: InterceptedResponse?): ProxyResponseToBeSentAction {
        return ProxyResponseToBeSentAction.continueWith(interceptedResponse)
    }
}
FIGURE 7 - The response handler class that implements the required methods
Next, the world is your oyster! Much of the business logic for the extension will be contained in this class. The Montoya API also exposes helper functions that make your life easier. For instance, I can take the image that the server responded with and replace the HTTP headers and the body of the response using this four-line snippet:
/* Build the new response */
val newResponse = interceptedResponse
    .withRemovedHeader("Content-Type")
    .withAddedHeader("Content-Type", nicCageImg.mimeType)
    .withBody(ByteArray.byteArray(*nicCageImg.imageBytes))
FIGURE 8 - The Montoya API, compared to the old API, makes it extremely easy to manipulate request attributes
The flexibility in the ProxyResponseHandler interface is also seen elsewhere in the API. Here, we’re modifying server responses, but the flexibility in the ProxyResponseHandler interface also makes modification of the requests much easier. To see the full breadth of the capabilities of the Montoya API, it can be helpful to consult the JavaDoc as well.
Learning how to implement business logic using the Montoya API is instrumental in the success of a Burp plugin. However, I feel that one of the biggest barriers to entry is creating a user interface for users of the extension.
Implementing a User Interface
When creating a Burp extension, it is sometimes useful to provide the security engineer with a way to add custom input to the plugin. This can take many forms, including context menus (e.g., right clicking on requests) and tabs. For the purposes of this exercise, I am going to add a tab to the top of the Burp Suite window to allow a user to add their own Nicolas Cage images to be replaced by the plugin.
Unfortunately, creating a user interface requires the developer to use Java Swing. Swing is a dated GUI framework for Java that was created in the 1990s. While it was revolutionary for its time, I wish Swing was left in the 1990s along with frosted tips, bowl cuts, and CDs.
The good news is that for extensions that aren’t complicated, getting started with a user interface can be simple. There are a few approaches that developers can take, depending on the complexity of the plugin. The easiest option, for those unfamiliar with Swing development, is to use the IntelliJ Form Designer. IntelliJ provides an easy drag-and-drop interface to create simple GUIs in minutes.
While using a GUI generator like IntelliJ Form Designer can be great for quick prototyping, there are a few drawbacks to this approach. One drawback is that if the developer chooses to use the IntelliJ layout manager, they are adding yet another dependency, increasing the size of the application. Additionally, the generated code in the form designer is difficult to read and doesn’t seem like something I’d want to commit to version control. Lastly, my experience in adding custom code to the generated forms (e.g., button action listeners) has been clunky and unpleasant, and I hesitate every time I make a commit.
That leaves the old-school approach of manual GUI creation. For this extension, I want to give the developer control over which Nicolas Cage images are used in the extension. To do this, make a simple form with a few labels, a textbox with a URL of an image to add, a button, a list of existing images, and finally, a delete button.
The Montoya method that can add a tab to Burp is registerSuiteTab, which simply takes in a title and a Swing component:
package com.bishopfox.burpcage

import burp.api.montoya.BurpExtension
import burp.api.montoya.MontoyaApi

class BurpCageEntry: BurpExtension {
    /**
     * The entry point for the BurpCage extension.
     *
     * @param api An instance of the MontoyaApi
     */
    override fun initialize(api: MontoyaApi?) {
        ...omitted for brevity...
        api.userInterface().registerSuiteTab(“BurpCage”, JLabel("Hello, World!"))
    }
}
FIGURE 9 - Minimum code required to add a Burp Suite Tab
The code above creates the following user interface:
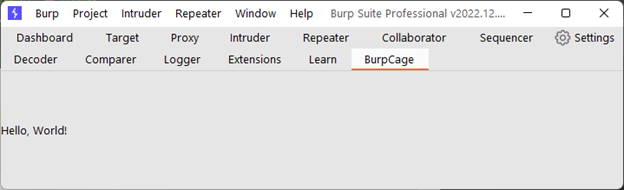
FIGURE 10 - Result of adding Burp Suite Tab in the user interface
Creating a more substantive UI is a little more complicated. To do this, I will create a BurpCageTab class that extends a JPanel class. A JPanel is simply a container for multiple UI elements, like a form. Panels can use many different layout managers, but I find the easiest one to use is GridBagLayout, which makes it easy to align form elements in rows and columns.
Using this layout is easy. I like to pretend that I’m working with a table, and I just prototype where each component should be on the form.
(0, 0): “Image URL” Label |
(1, 0): Text Box |
(2, 0): “Add Image” Button |
(0, 1): Selected List of Images |
||
(0, 2): “Delete Selected Image” Button |
||
(0, 3): Label of error message, if one exists |
||
FIGURE 11 - The location of each UI element in the grid with the coordinates in (X, Y) form
Figuring out what Swing components to use is another battle. Fortunately, the Java API is well-documented, and if you have good Google-fu, you should be able to find the right Swing components for your extension. In the case of BurpCage, I use JLabel, JTextField, JButton, JScrollPane, and JList. The following code creates a very simple layout using GridBagLayout and a JLabel, but feel free to follow along in the source for the full example.
package com.bishopfox.burpcage

import java.awt.GridBagConstraints
import java.awt.GridBagLayout
import javax.swing.JLabel
import javax.swing.JPanel

class BurpCageTab() : JPanel() {
    init {
        this.layout = GridBagLayout()
        val c = GridBagConstraints()

        /* Grid row 0, col 0: label */
        c.fill = GridBagConstraints.HORIZONTAL
        c.gridx = 0
        c.gridy = 0
        this.add(JLabel("Image URL"), c)

        ...omitted for brevity...
    }
}
FIGURE 12 - Simple GridBagLayout with JLabel
After adding all the swing components to the BurpCage extension, the next step is to add triggers for when buttons are clicked or text is entered. This can be done through action listeners. The buttons in BurpCage will simply add or remove pictures of our favorite celebrity idol, and it can be done through the addActionListener of the JButton class. The add image button will trigger the download of an image from an external server, which can take some time. Thus, I recommend starting a new thread that is separate from the UI thread so as not to slow down the user interface:
...omitted for brevity...
        /* Grid row 0, col 2: button */
        val addImgButton = JButton("Add Image")
        addImgButton.addActionListener {
            thread(start = true) {
                /* TODO: Add button logic */
            }
        }
...omitted for brevity...
FIGURE 13 - Adding a button with an action listener
Tying it All Together
So far, I’ve covered the main Burp API features that make up an extension. The BurpCage extension also features some other lesser-known Burp API features, such as persistence. In the case of BurpCage, persistence is used to keep track of all the downloaded Nicolas Cage images for the project.
Persistence is a useful way to maintain state in your application when Burp Suite closes or the extension reloads. You can access the helper class in the persistence method of the Montoya API class.
But the real power is not necessarily the Montoya API but how your application logic interfaces with the API to create new and powerful extensions. In the BurpCage extension, I’ve decoupled much of the application logic from the main Montoya API, and I simply use the Montoya API as a bridge between Nicolas Cage and Burp Suite.
The power of keeping your application logic separate from the Burp Suite interfaces is that it affords your application the flexibility to interface with other tools, such as OWASP ZAP, without rewriting the whole extension.
The Demo
To demonstrate the awesomeness of our new Burp extension, I’ve browsed a few popular image-heavy pages on the Internet. But first, let’s check out the user interface that I created for BurpCage:
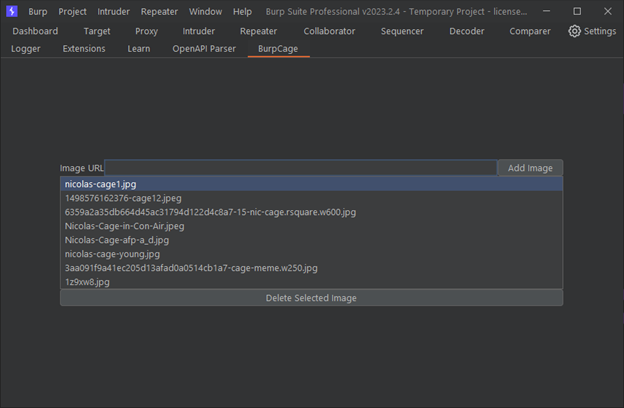
FIGURE 14 – The intuitive BurpCage user interface
The first page I visited was the /r/WholesomeMemes subreddit on Reddit, because Nicolas Cage is the only wholesome content I really care about:

FIGURE 15 - Results of using the BurpCage interface
Then, I visited the popular cybersecurity blog Krebs on Security, so I can keep this at least somewhat relevant to my job functions:

FIGURE 16 - Results of using BurpCage interface
Conclusion
To sum up, creating a Burp extension can be painless with the new Burp API. By learning a little bit of software development and the ins-and-outs of the API, you can take your pen tests to the next level.
Many security engineers are intimidated by writing Burp Extensions. A lot of folks I’ve talked to in the industry are worried about learning the complexities of the Burp Suite API. But PortSwigger has taken a lot of complexities out of creating a Burp plugin, and now writing an extension is easier than ever.
There is still some involvement associated with Burp extensions (the time sink for me has always been creating the user interface), but PortSwigger is adding interesting new features to every release of the Montoya API.
I hope you enjoyed this small tutorial on creating Burp Extensions. For the full source code of the example plugin, visit this link: https://github.com/BishopFox/b...

Subscribe to our blog
Be first to learn about latest tools, advisories, and findings.
Thank You! You have been subscribed.
Recommended Posts
You might be interested in these related posts.